I’ve been playing around a lot more recently with LLMs running locally on my PC, and for the most part, that’s been with Ollama.
Ollama is a fantastic tool that makes it extremely simple to download and run LLMs on your own PC, made even easier with the launch of its new GUI application. It can hook into your workflow beautifully, but it has one glaring flaw.
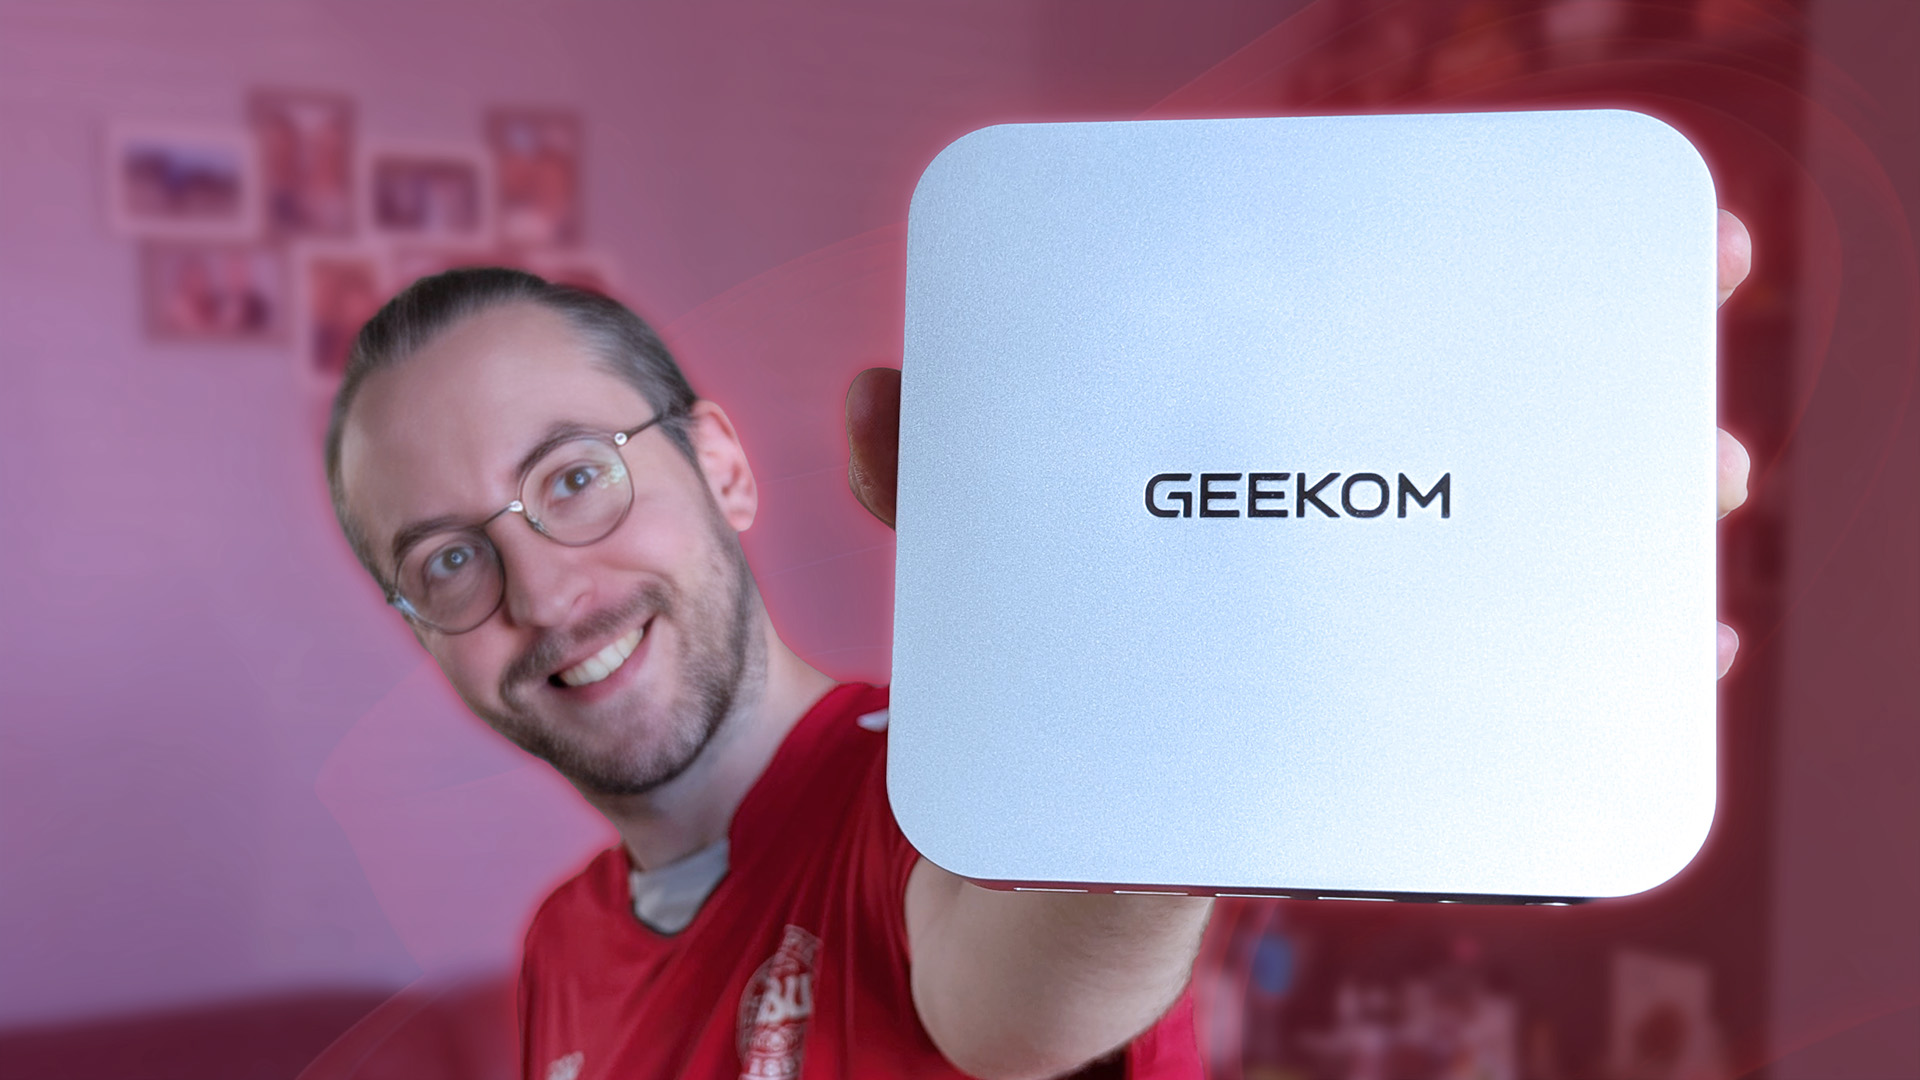
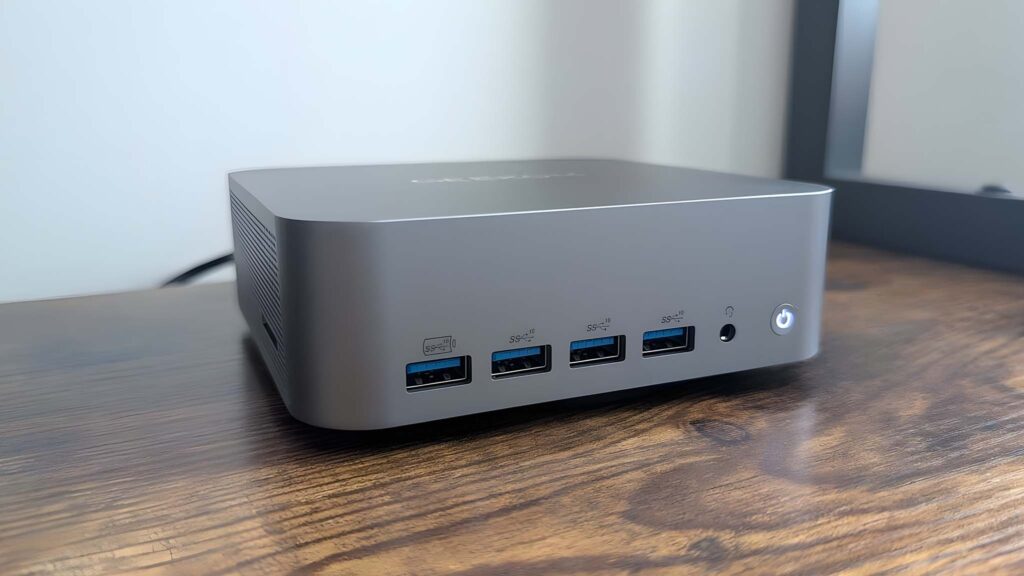
If you don’t have a dedicated GPU, its performance isn’t that good. I’ve been using it with an RTX 5080 (and soon to try an RTX 5090), and it flies along, but on something like the new Geekom A9 Max mini PC, which just landed for review, it’s a very different story.
Ollama does not officially support integrated graphics on Windows. Out of the box, it’ll default to using the CPU, and honestly, there are times when I’m not interested in looking for workarounds.
Instead, enter LM Studio, which makes it so simple to leverage integrated GPUs, even I can do it in seconds. That’s what I want, that’s what you should want, and it’s why you need to ditch Ollama if you want to leverage your integrated GPU.
What is LM Studio?
Without going too far into the weeds, LM Studio is another app you can use on your Windows PC to download LLMs and play about with them. It does things a little differently from Ollama, but the end result is the same.
It also has a significantly more advanced GUI than Ollama’s official app, which is another tick towards using it. To get the most from Ollama outside of the terminal, you need to use something third-party, such as OpenWebUI or the Page Assist browser extension.
It’s ultimately a one-stop shop to find and install models, and then interact with them through a familiar-feeling chatbot interface. There are many advanced features you can play with, but for now, we’ll leave it simple.
The big win is that LM Studio supports Vulkan, which means you can offload models on both AMD and Intel to the integrated GPU for compute. That’s a big deal, because I’m yet to see in my own testing a situation where using the GPU wasn’t faster than the CPU.
So, how do you use an integrated GPU in LM Studio?

The other beauty of just going the LM Studio route is that there’s nothing fancy or technical that needs to be done in order to use your iGPU with an LLM.
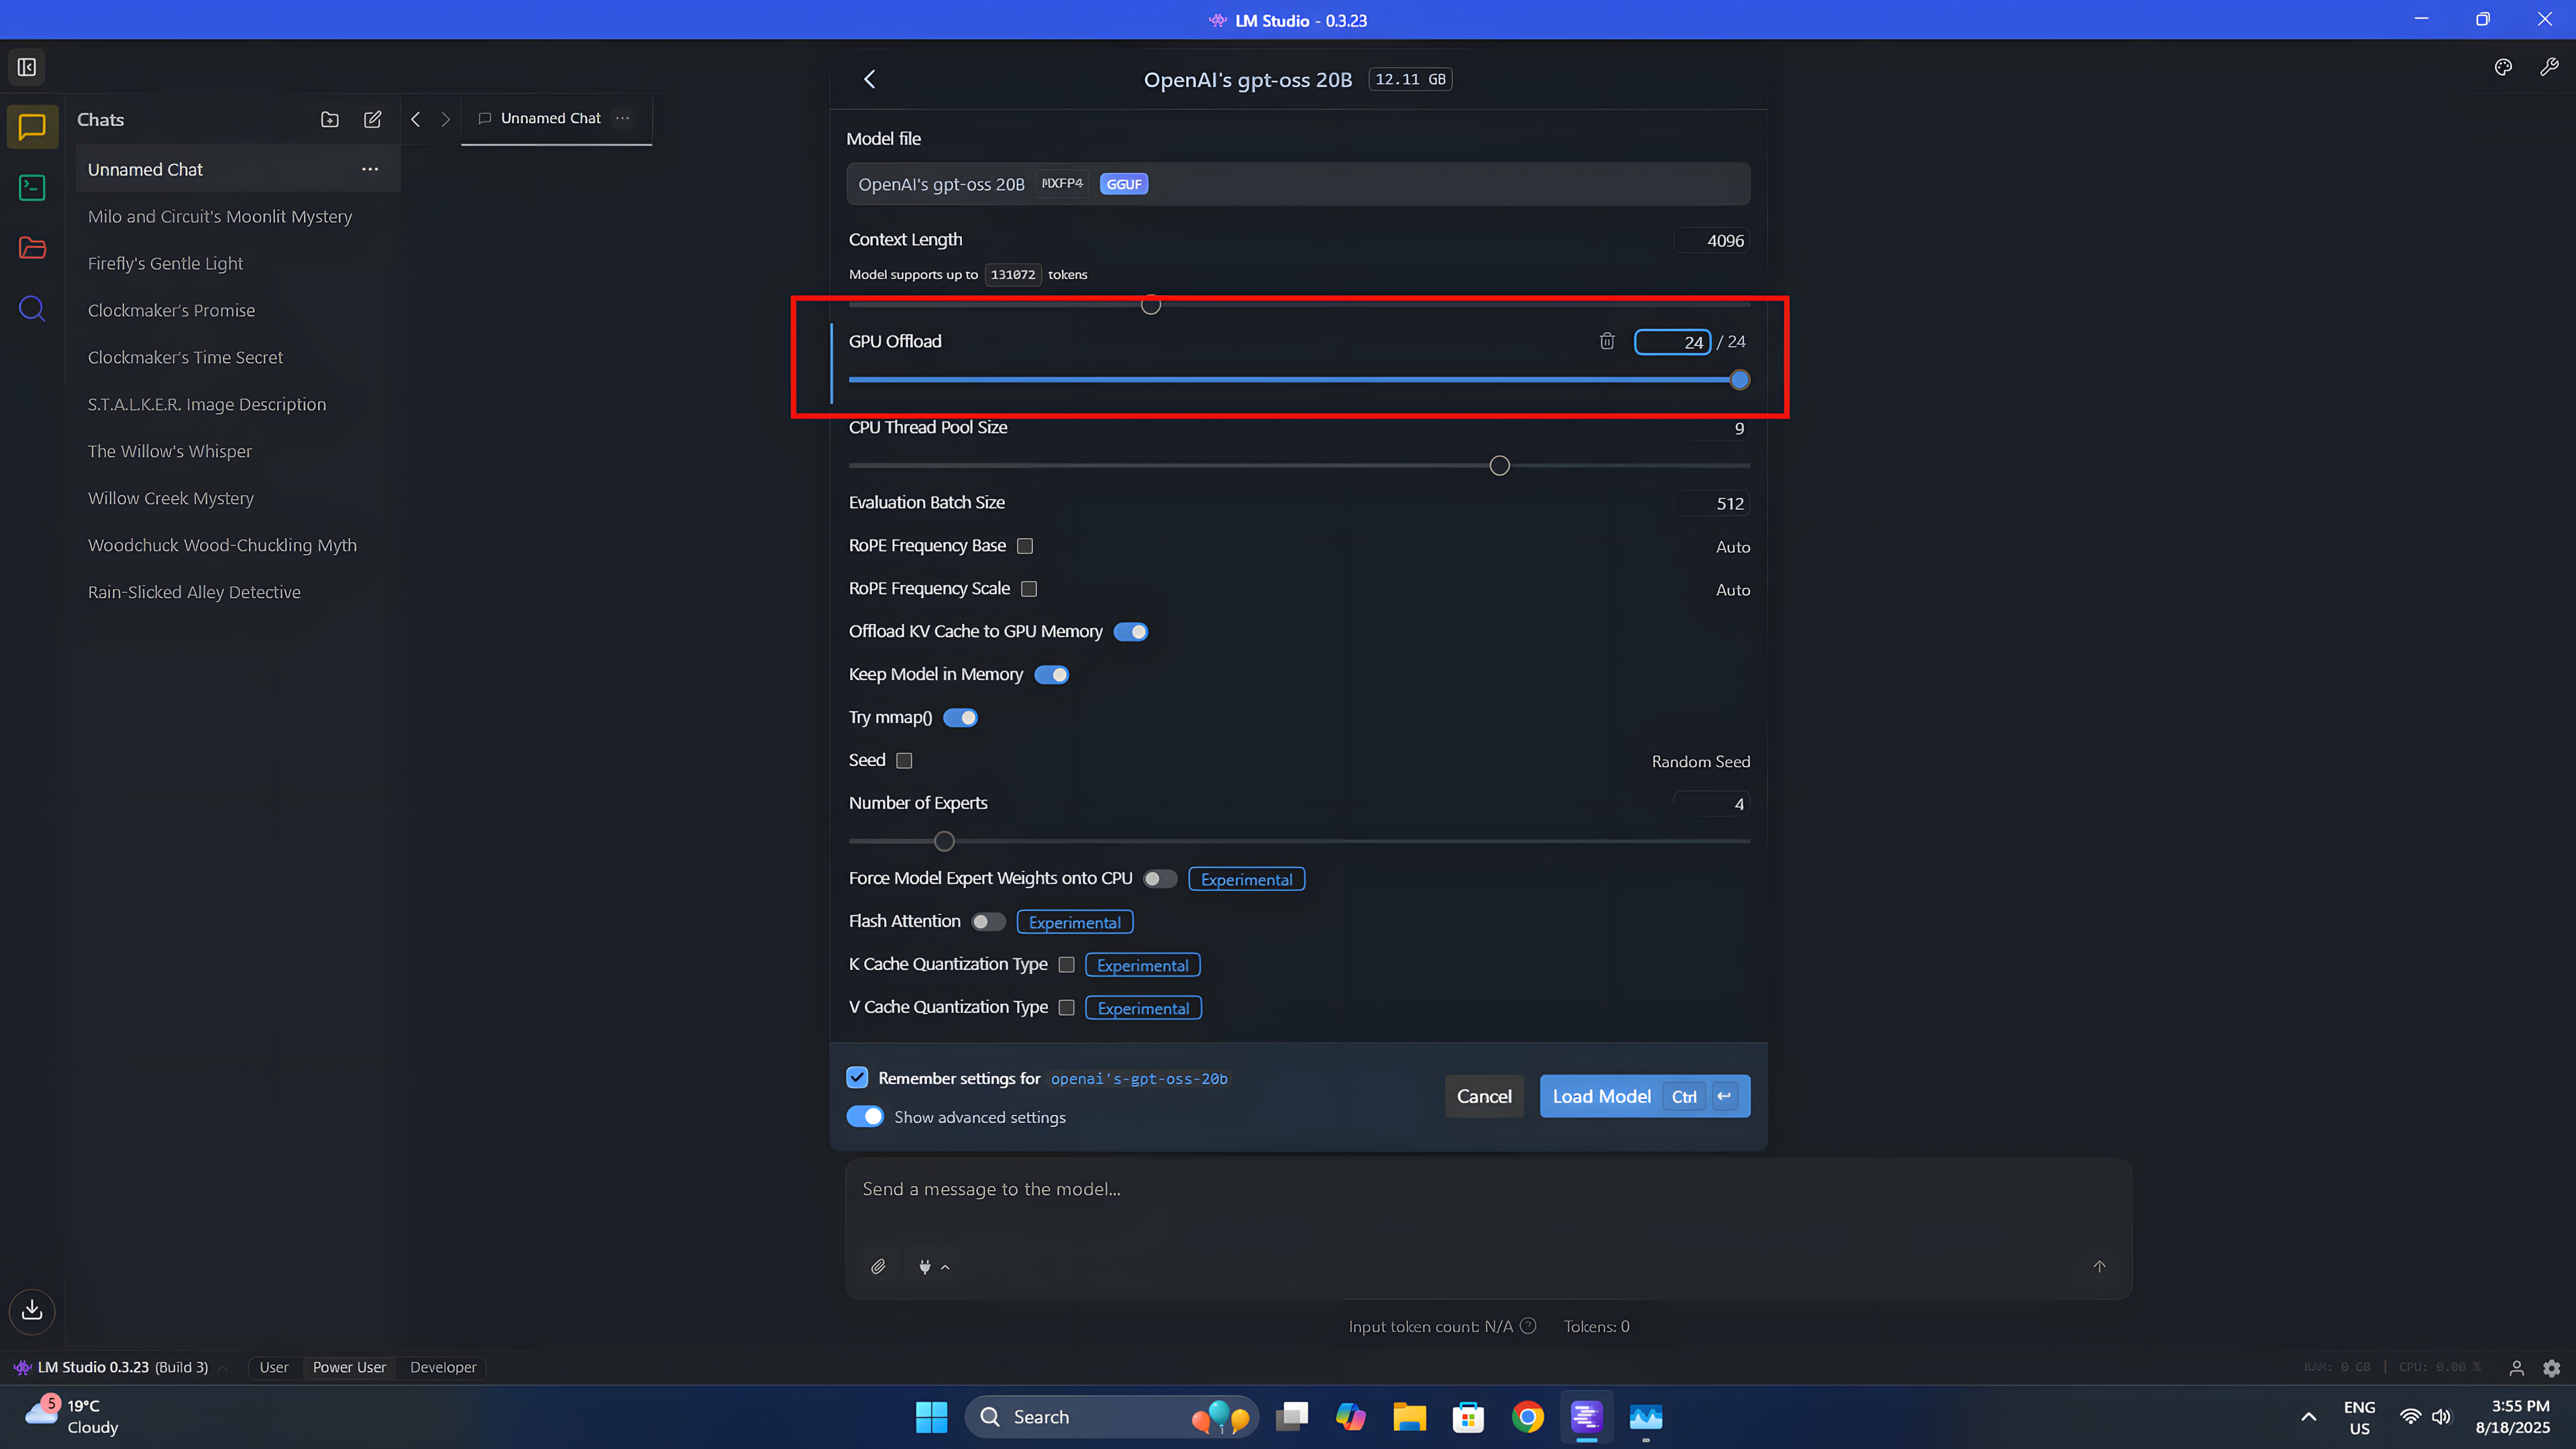
To use a model, you simply load it up with the dropdown box at the top. When you select the one you want, a bunch of settings will appear. In this instance, we’re only really interested in the GPU offload one.
It’s a sliding scale and works in layers. Layers are essentially the blocks that make up the LLM, and instructions will pass down them one by one, until the final layer produces the response. It’s up to you how many you offload, but anything below all of them means your CPU will be picking up some of the slack.
Once you’re happy, click load model, and it’ll load into memory and operate within your designated parameters.

As an example, on the aforementioned Geekom A9 Max, I have Radeon 890M integrated graphics, and I’m wanting to use basically all of it. When I’m using AI, I’m not gaming, so I want all of the GPU to focus on the LLM. I set 16GB of my 32GB total system memory as reserved for the GPU to load the model into, and get to work.
With a model like gpt-oss:20b I can load the entire thing into that dedicated GPU memory, use the GPU for compute, leave the rest of the system memory and the CPU well alone and get around 25 tokens per second.
Is it as fast as my desktop PC with an RTX 5080 inside? Not at all. Is it faster than using the CPU? Absolutely. With the added benefit that it isn’t using almost all of my available CPU resources, resources that other software on the PC might want to use. The GPU is basically dormant most of the time; why wouldn’t you want to use it?
I could probably get even more performance if I spent the time getting into the weeds, but that’s not the focus here. The focus is on LM Studio, and how, if you don’t have a dedicated GPU, it’s hands-down the tool to use for local LLMs. Just install it and everything works.


