Recently, I’ve been playing around with Ollama as a way to use AI LLMs locally on my Windows 11 PC. Beyond educating myself, there are some good reasons to run local AI over relying on the likes of ChatGPT and Copilot.
Education is the big thing, though, because I’m always curious and always looking to expand my knowledge base on how new technology like this works. And how I can make it work for me.
This past weekend, though, I certainly educated myself on one aspect: performance. Just last week, Ollama launched a new GUI application that makes it easier than ever to use it with LLMs, without needing third-party add-ons or diving into the terminal.
The terminal is still a useful place to go, though, and it’s how it dawned on me that the LLMs I’ve been using on my machine haven’t been working as well as they could have been.
It’s all about the context length.
Context length is a key factor in performance
So, what is context length, and how does it affect the performance of AI models? The context length (also known as the context window) defines the maximum amount of information a model can process in one interaction.
Simply put, a longer context length allows the model to ‘remember’ more information from a conversation, process larger documents, and, in turn, improve overall accuracy through longer sessions.
The trade-off is that a longer context length needs more horsepower and results in slower response times. Context is measured in tokens, which is a better label for snippets of text. So the more text, the more resources needed to process it.
Ollama can go up to a 128k context window, but if you don’t have the necessary hardware to run support, your machine can slow to a crawl. As I found out, trying to get gpt-oss:20b to complete a test designed for 10 and 11-year-old children.
In this example, a shorter context length didn’t provide the model enough to process the whole test properly, while a larger one did, at the detriment of performance.
ChatGPT has a context length of over 100,000 tokens, but it has the benefit of OpenAI’s massive servers behind it.
Keeping the right context length for the right tasks is crucial for performance
It’s a bit of a pain to have to keep switching the context length, but doing so will make sure you’re getting a lot more from your models. This is something I haven’t been keeping tabs on, but once the lightbulb lit up, I’ve been having a significantly better time.
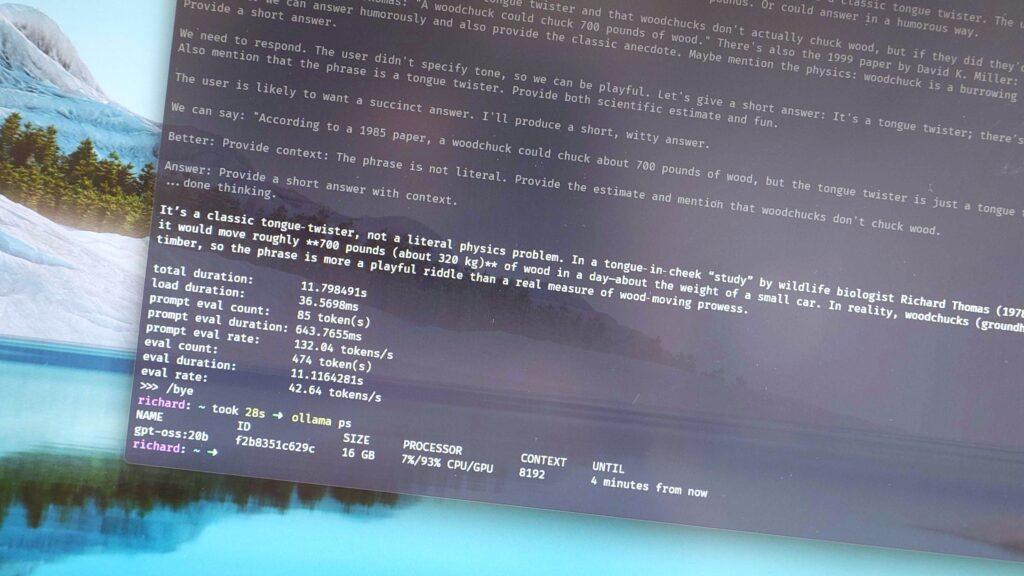
It dawned on me while I was poking around in the terminal with some Ollama settings to see just how fast a model was running. I hadn’t realized that gpt:oss20b was set to 64k context length, and was surprised at getting a 9 token per second eval rate to a simple question.
“How much wood would a woodchuck chuck if a woodchuck could chuck wood?”
It also wasn’t using any of my GPU’s VRAM at this length, seemingly refusing to load it into the memory, and was running entirely using the CPU and RAM. By reducing to 8k, the same question generated a 43 tokens per second response. Dropping to 4k doubled this to 86 tokens per second.
The added benefit (with this model at least) here is that the GPU was being fully utilized at 4k, and 93% used at 8k.
The key thing here is that unless you’re actually dealing with large amounts of data or very long conversations, setting your context length lower will yield far better performance.
It’s all about balancing what you’re trying to get from a session against a context length that can handle it with the best efficiency.
How to change Ollama context length and save it for future use
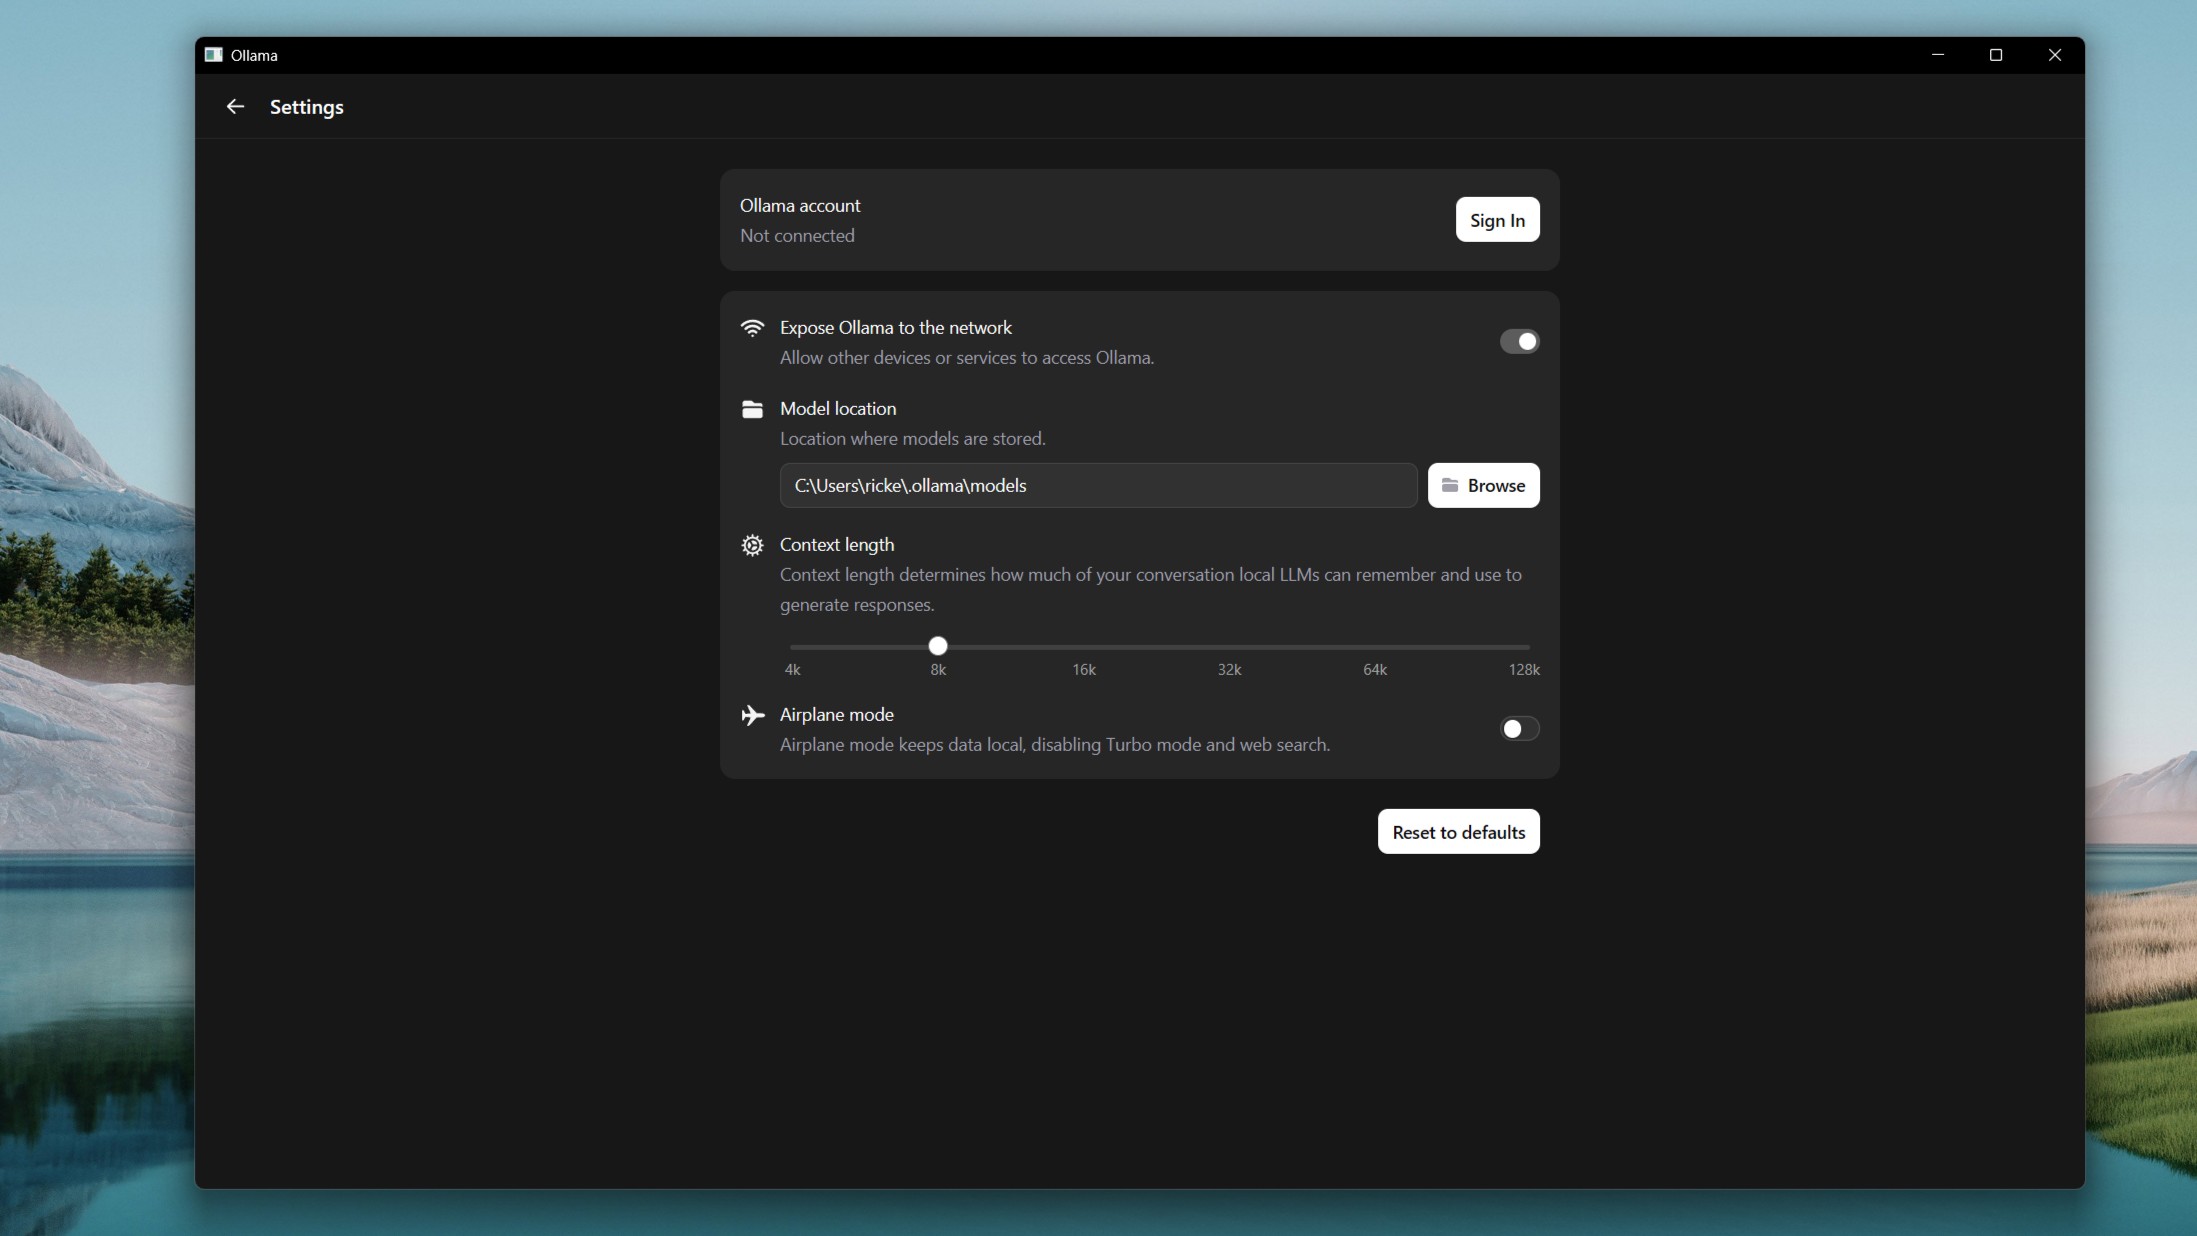
There are two ways you can change the context length in Ollama, one in the terminal and one in the new GUI application.
The latter is the simplest. You simply go into settings and move the slider between 4k and 128k. The downside is these are fixed intervals; you can’t choose anything in between.
But, if you use the terminal, the Ollama CLI will give you more freedom over choosing the exact context length you may want, as well as the ability to save a version of the model with this context length attached.
Why bother with this? Well, firstly, it’ll give you a model with that length permanently attached; you don’t need to keep changing it. So it’s convenient. But it also means you can have multiple ‘versions’ of a model with different context lengths for different use cases.
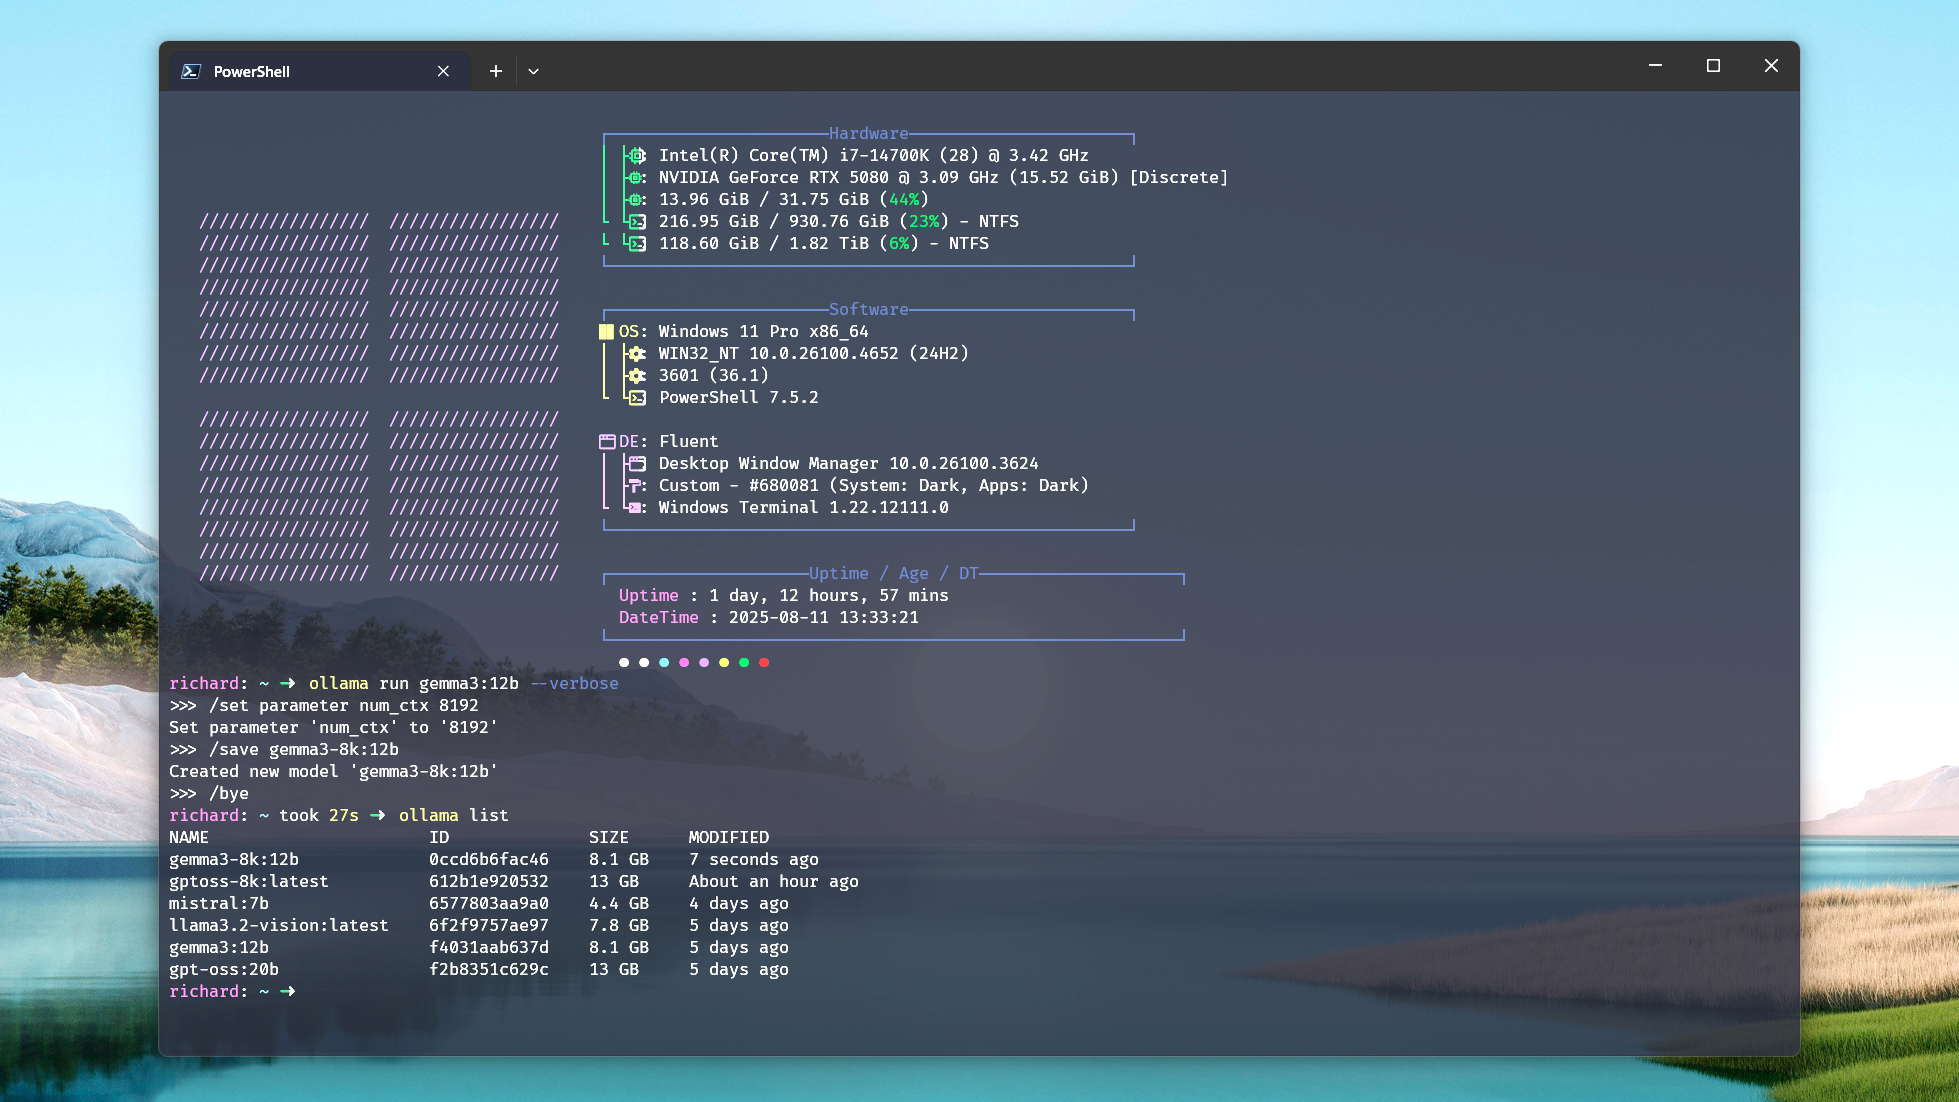
To do this, open up a PowerShell window and run the model you want to use with this command:
ollama run Once the model is running, and you’re inside its CLI environment, change the context length following this template. Here, I’m applying an 8k context length.
/set parameter num_ctx 8192The number at the end is where you decide how long you want it to be. You’ll now use that context length, but if you want to save a version you can launch, next enter this command:
/save 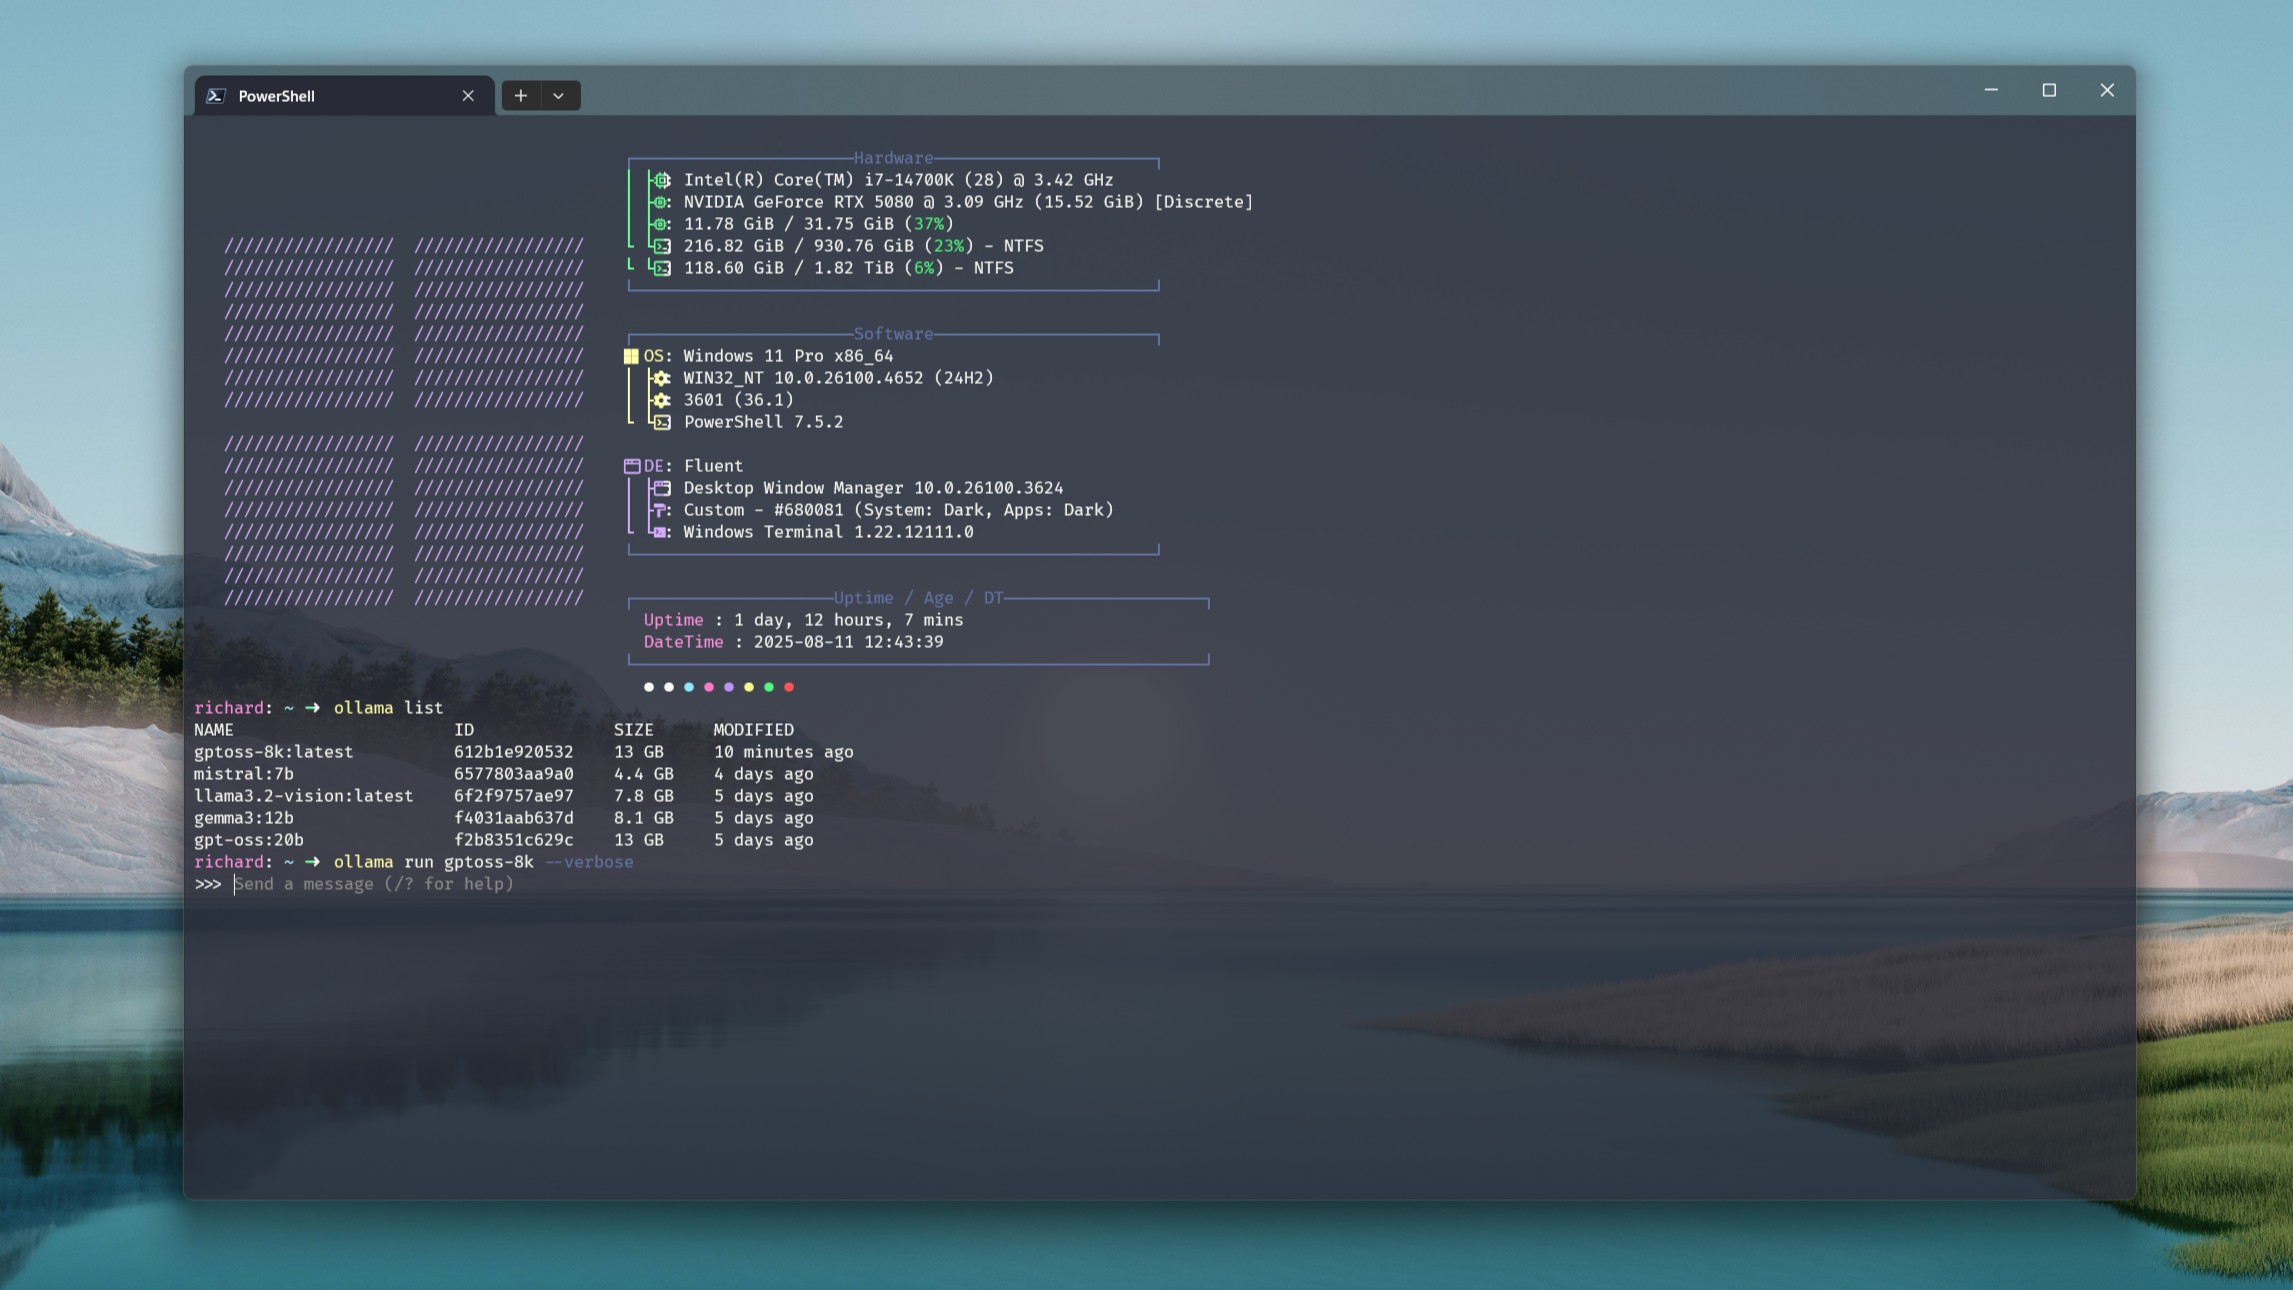
Now you can launch this saved model either through the CLI or the GUI app, or use it in any other integrations you have using Ollama on your PC.
The downside is that the more versions you make, the more storage you use. But it’s a convenient way if you have the storage available to avoid having to think about changing context length.
You can have one set low for best performance when you’re doing smaller tasks, one set higher for more intensive workloads, whatever you want, really.
How to check performance of a model in Ollama
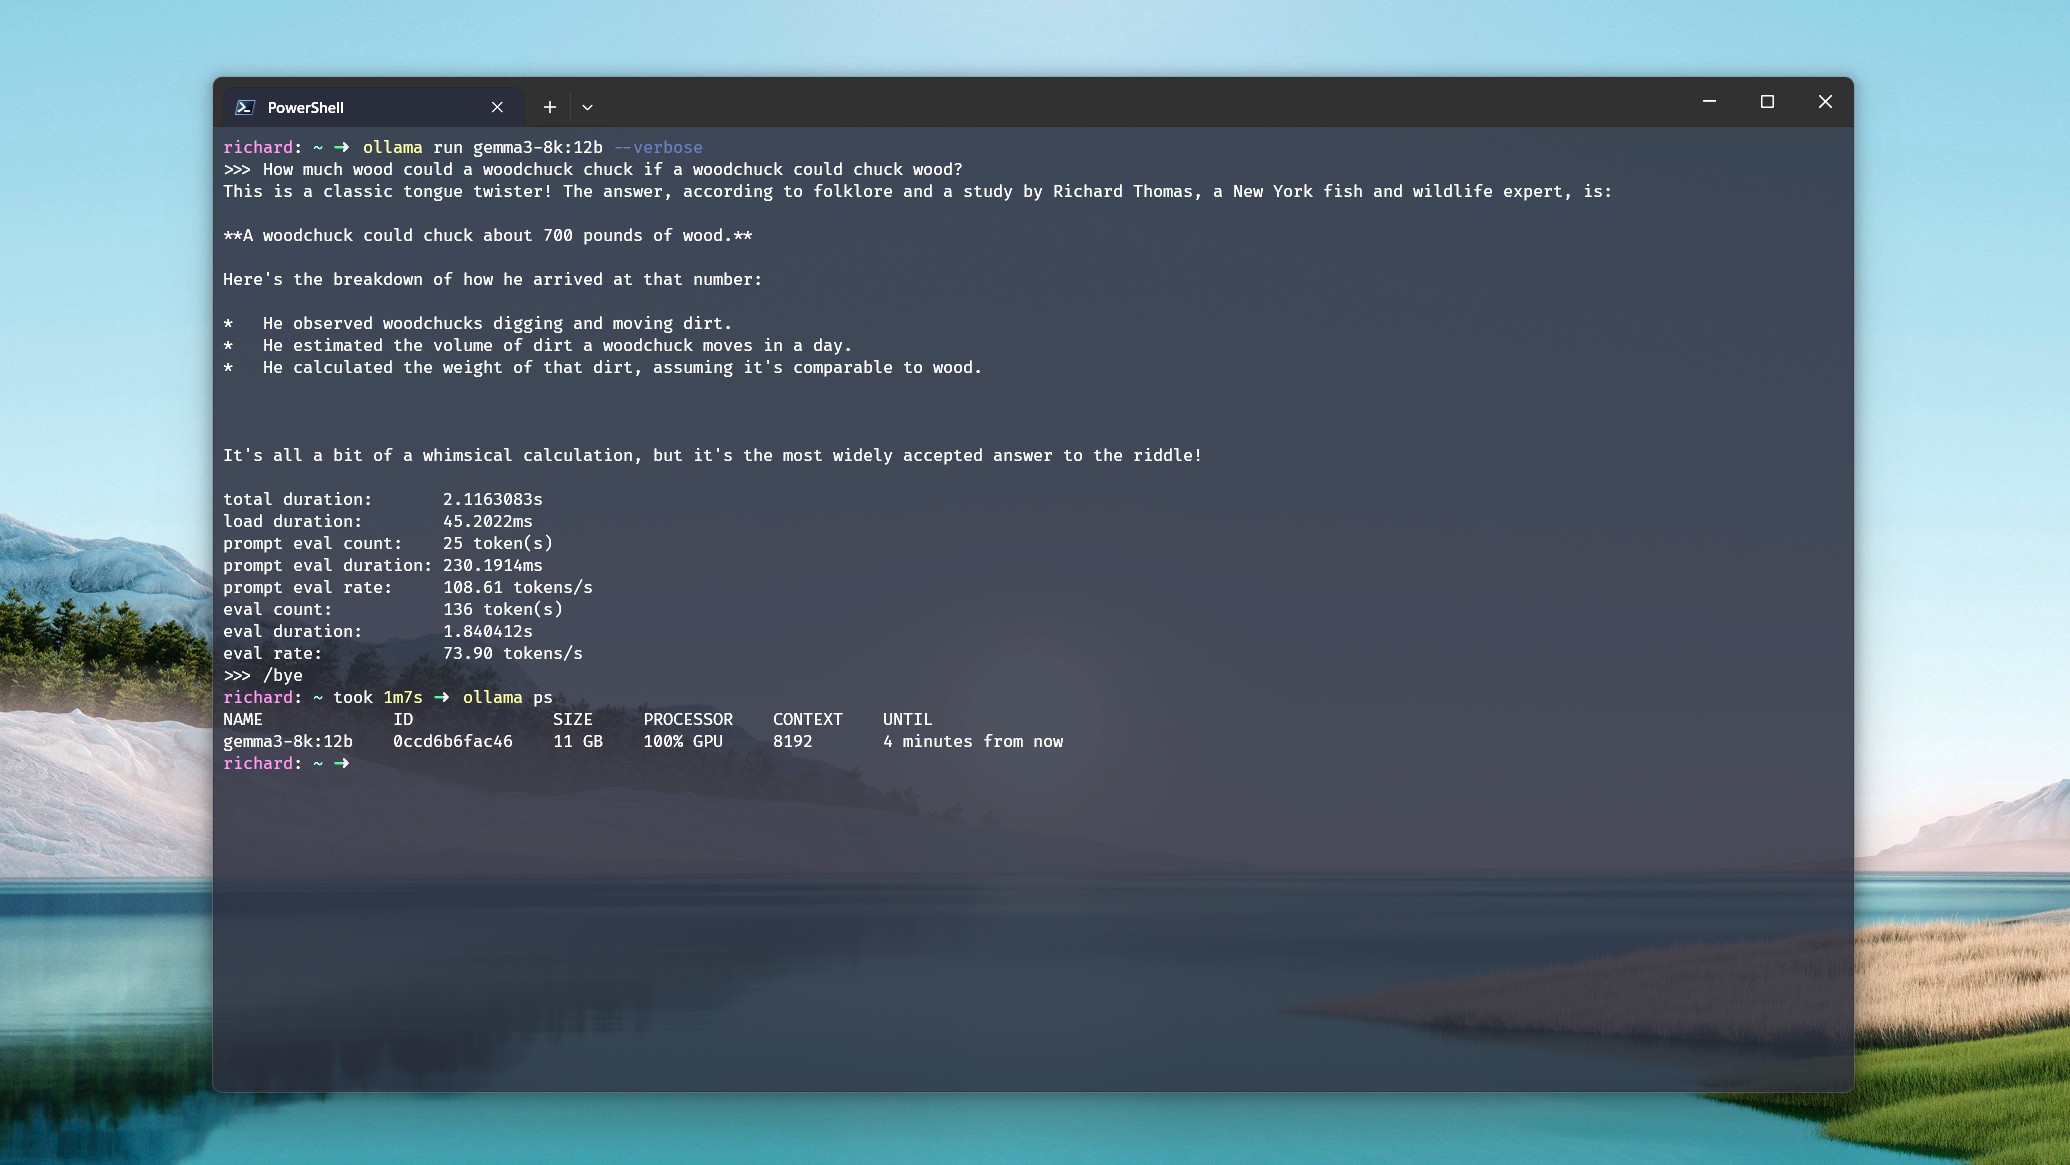
I’ll close by showing how you can see the split of CPU and GPU usage for a model in Ollama, as well as how many tokens per second a model is spitting out.
I recommend playing around with this to find your own sweet spot based on the model you’re using and the hardware at your disposal.
For now, if you only have Ollama installed and no third-party tools, you’ll need to use the terminal. When running a model, add the –verbose tag to the command. Example:
ollama run gemma3:12b --verboseWhat this does is generate a report after the response detailing a number of performance metrics. The easiest one to look at is the last eval rate, and the higher the tokens per second, the faster the performance.
If you want to see how much spread across CPU and GPU the model is using, you’ll need to back out of it using the /bye command first. Then type ollama ps and you’ll get a breakdown of CPU and GPU percentage. In an ideal world, you want the GPU percentage to be 100% or as close to it as possible.
As an example, I have to go below an 8k context length with gpt-oss:20b on my system with an RTX 5080 if I want to use 100% GPU. At 8k, it’s ‘only’ 93%, but that’s still perfectly fine.
Hopefully, this helps some folks out there, especially newcomers to Ollama, since I was definitely leaving performance on the table. With a beefy GPU, I simply assumed all I had to do was run a thing, and it’d magically just do magic.
Even with an RTX 5080, though, I’ve needed to tweak my expectations and my context length to get the best performance. Generally, I’m not (yet) feeding these models massive documents, so I don’t need a massive context length, and I certainly don’t need one (and neither do you) for shorter queries.
I’m happy to make mistakes so you don’t have to!


